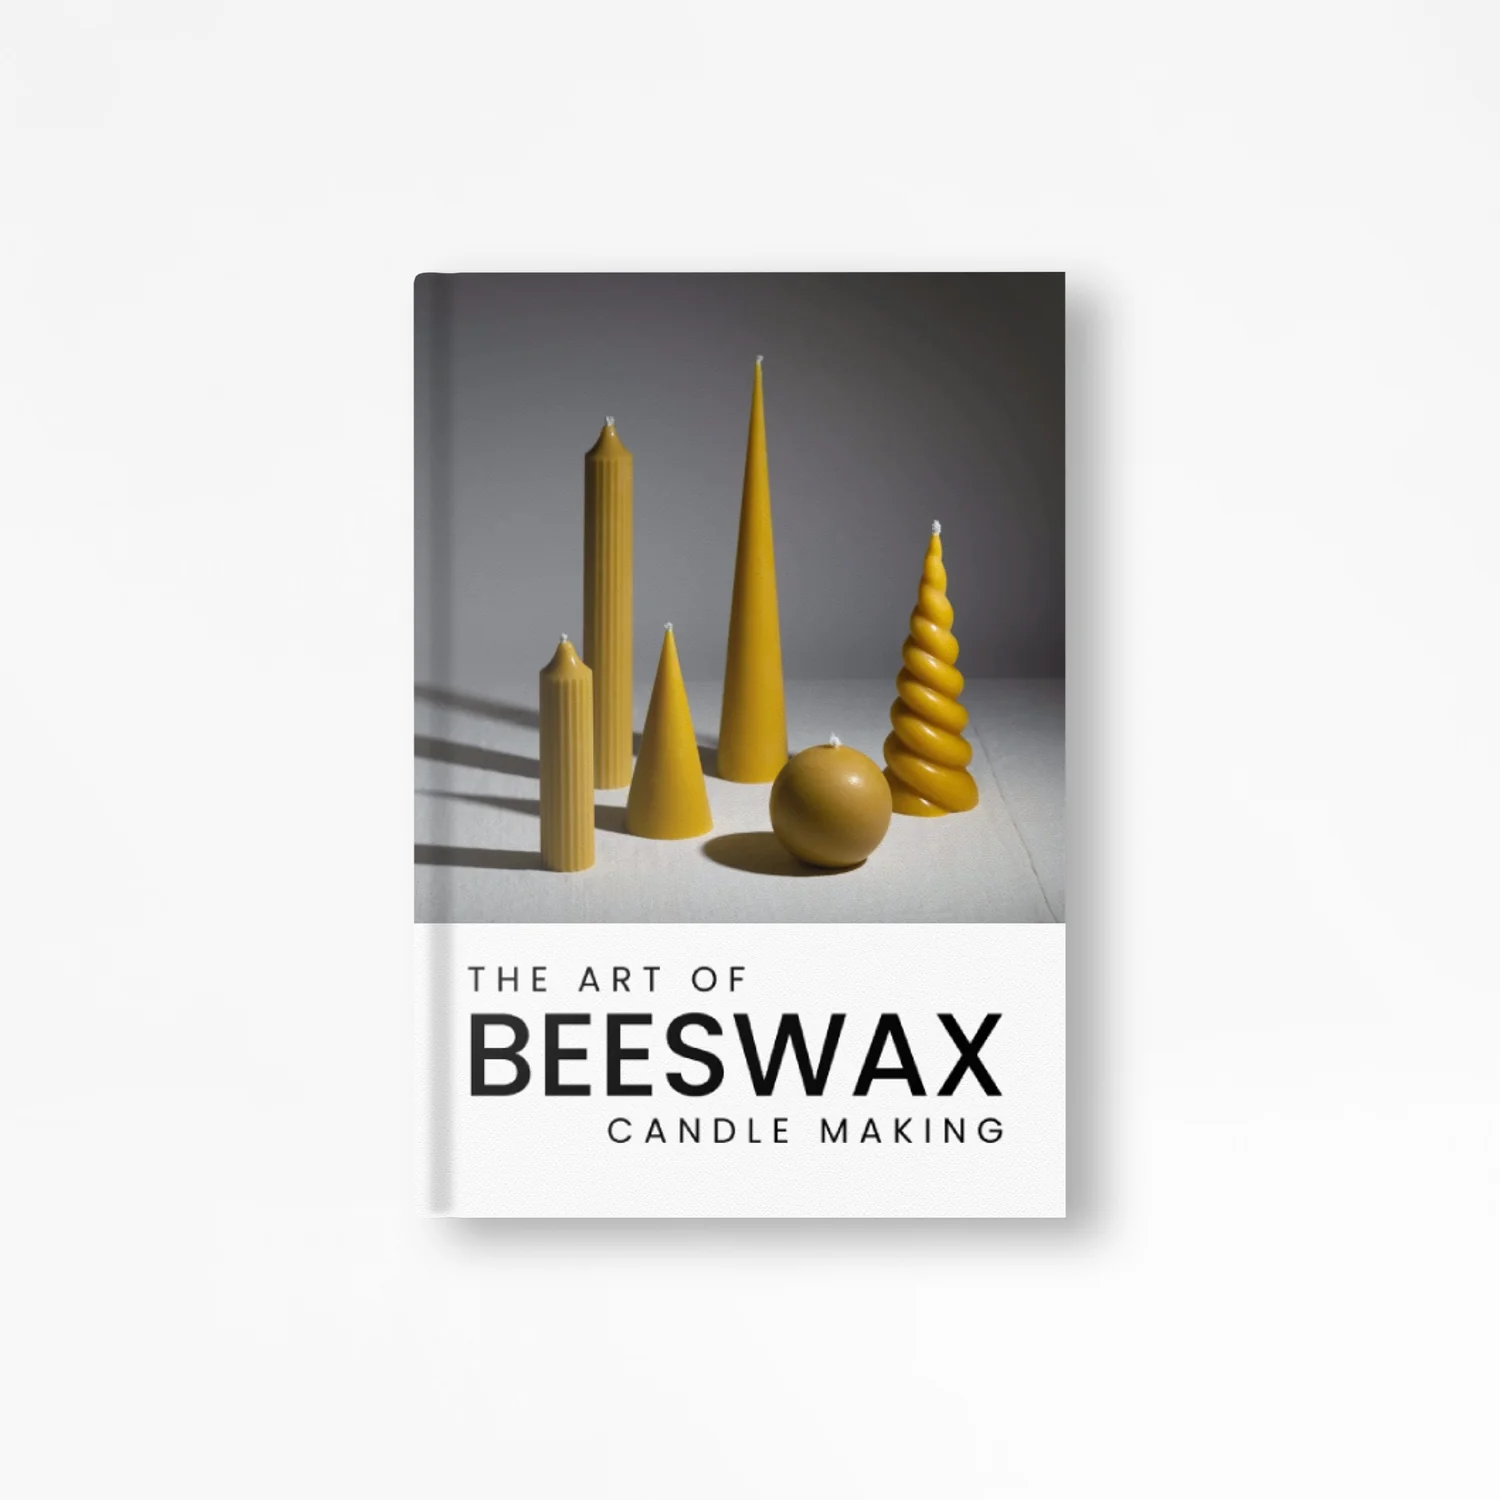

Beeswax candles are the purest form of candles. Their smell enriches the environment, releasing negative ions to purify the air. There are various ways by which you can make beeswax candles. Some of them are given below:

Hand Rolled Beeswax Candles
Hand-rolled beeswax candles are one of the easiest beeswax candles to make at home. Here’s are the steps by which you can quickly start preparing these rolled beeswax candles.- Assemble materials, including beeswax sheets, metal-free candle wick, scissors or blade, and cutting surface.
- Cut the beeswax sheet in two equal sizes using a scissor or blade.
- Take one strip and place the wick at its end. Keeping it on a suitable surface, fold wax over the wick.
- While gradually rolling it, gently press the wax to get a solid cylindrical candle. The rolling should be evenly done so to have a flat bottom.
- If the bottom is uneven, gently press the candle onto the table and continue rolling.
- Place the prepared candle gently on a candle holder.

Hand-Dipped Beeswax Candles
Though hand-dipped beeswax candles provide a sweet-smelling warm light, their preparation is slightly time-consuming. Let’s see how these beeswax candles can be made:- Collect the materials such as 2 lbs. pure beeswax, double boiler, organic candlewick, newspaper, and scissors.
- Using a double boiler on medium heat, you can easily melt the beeswax. The temperature should be kept between 144F to 147F.
- Tie the wick around a pencil or a branch. Cut its length according to the size of the dipping pot. After dipping the wick straight, wait for some time. Remember to roll smoothly and in short motions.
- Dip the candles into the hot melted wax to form different layers.
- If the bottom of the candle is uneven, cut it carefully to get a flat one using a scissor.
- Place the wick over the beeswax candles to the height you want. Cut through the wax before it cools down. Hang them for an hour to let them reach their room temperature.

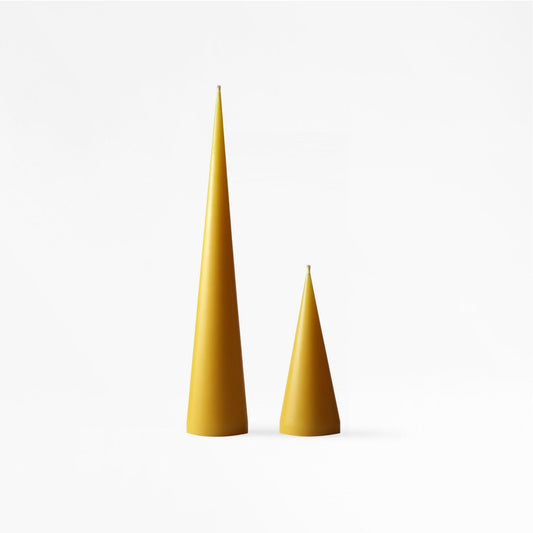
Making Beeswax Candles using Molds
If you are a novice candle maker or lack the proper amount of wax, you can make beeswax candles using molds. There are different types of molds: metal candle molds, plastic candle molds, and silicone molds.- Collect 1 pound beeswax, 1 foot cotton wick, two pieces rubber bands, and one-piece craft sticks.
- Clean the wax and melt it properly.
- Trim the wick size and thread it through the bottom hole in the mold. Secure the end using a stick and rubber band.
- Pour the melted wax into the mold and leave it to cool.
- When the wax solidifies, remove the rubber bands and finished candle from the mold.

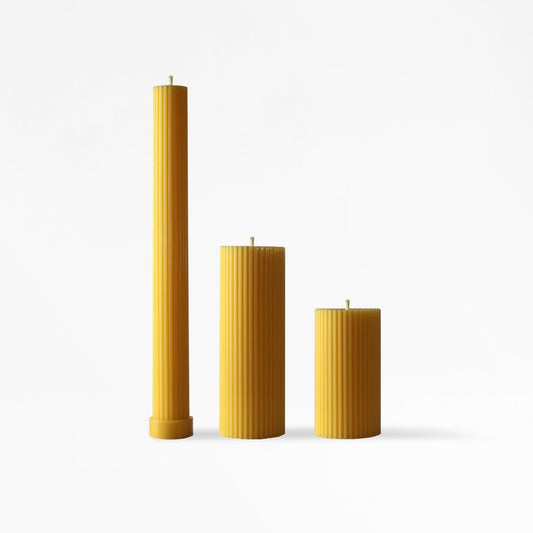
Container Beeswax Candles
Container beeswax candles are versatile types of candles as you can get beautiful and health-friendly candles in different and attractive shapes. Here’s how can you make container beeswax candles.- Collect the required items, including 1 pound beeswax, thermometer, glass jar or container, double boiler, wick holder tab, and glue.
- Melt the beeswax in a double boiler, usually made of stainless steel. Monitor the temperature using a thermometer as a temperature above 150-160F can burn down the wax.
- Cut wicks to the height you want. Add wicks to the bottom of the jar using a wick holder tab and hot glue.
- Slowly pour the wax onto the container. Remember not to pour it to the brim.
- While the wax cools and starts solidifying, adjust the position of the wicks towards the centre of the container or jar. Trim the wick to the height of 1.25 inches.

Tea Light Beeswax Candles
Tea light beeswax candles are one of the most adorable candles. Following are the steps to prepare tea light beeswax candles:- The essential materials required are beeswax, tea light wick, scissors, small muffin tin, hairpins, tin can, and newspaper
- Lay newspaper over a flat surface to avoid spillage.
- Keep the beeswax in a tin can. Warm it in an oven at 180F. You can use tinfoil to avoid any drips in the oven.
- Cut the tea light wicks to around 1.25 inches or longer than the height of the muffin tin. Put hairpin in each wick.
- When the beeswax has melted, start dipping the wick to the height you want. Simultaneously, straighten each wick and center it using a hairpin.
- Quickly pour the wax onto the tin prepared as the beeswax tend to turn harder faster.
- Let the candles cool down for an hour. Slowly remove the hairpin and trim the wicks placed, if needed.