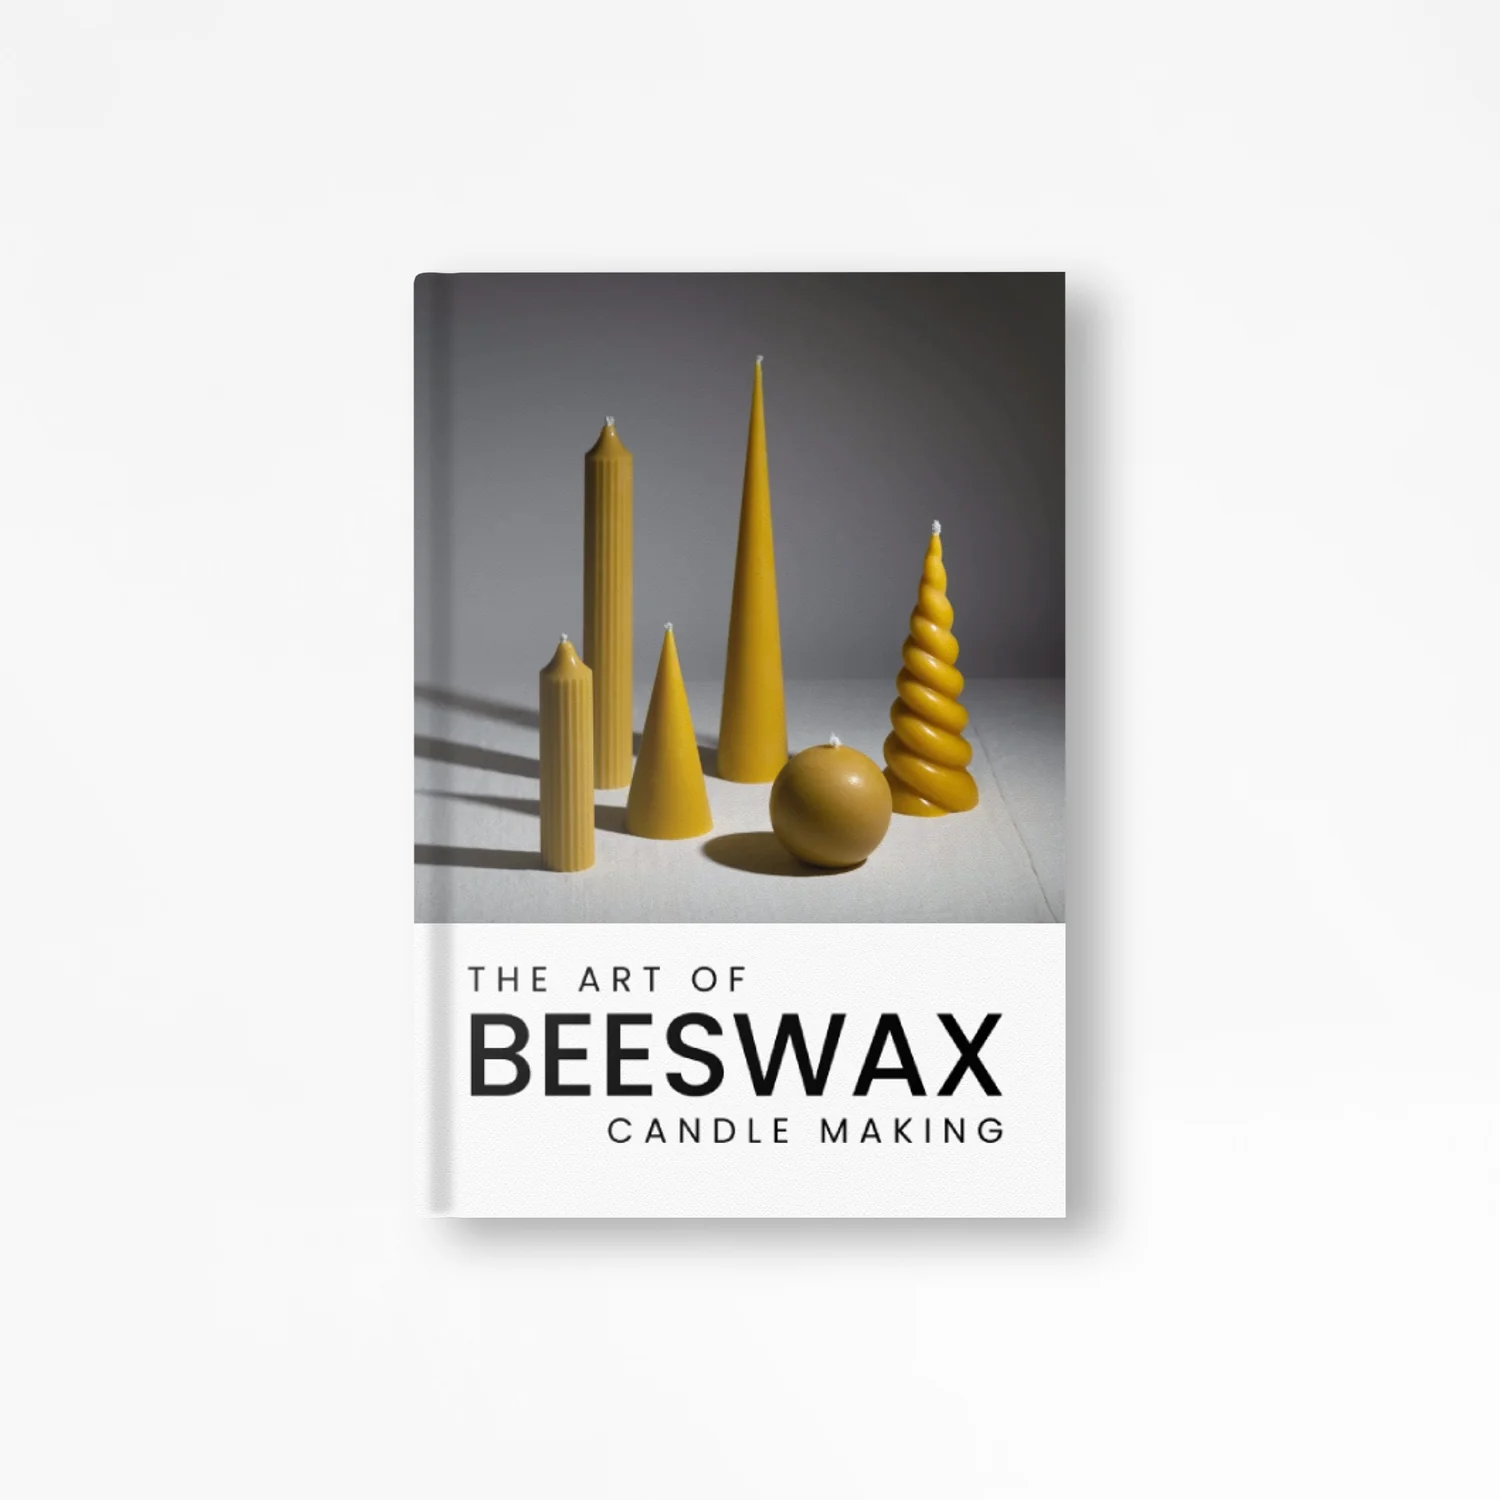

The Rich History of Hand Dipped Beeswax Candles
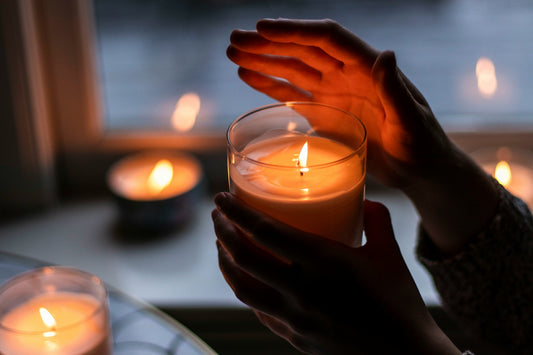
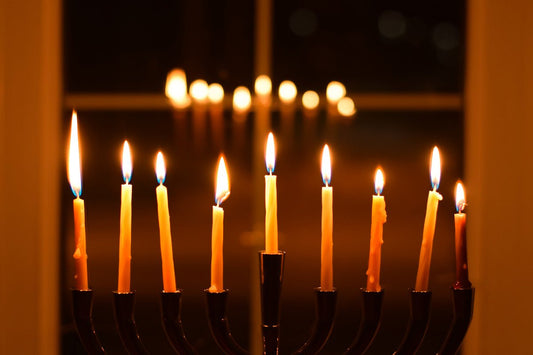
Hand dipped beeswax candles have a long and rich history dating back centuries. These candles were often used in religious ceremonies and were highly valued for their bright, steady flame and natural scent. The process of dipping the wick in wax and allowing it to cool before repeating the process creates a beautiful texture and pattern on the surface of the candle.
Characteristics That Make Hand Dipped Beeswax Candles Unique
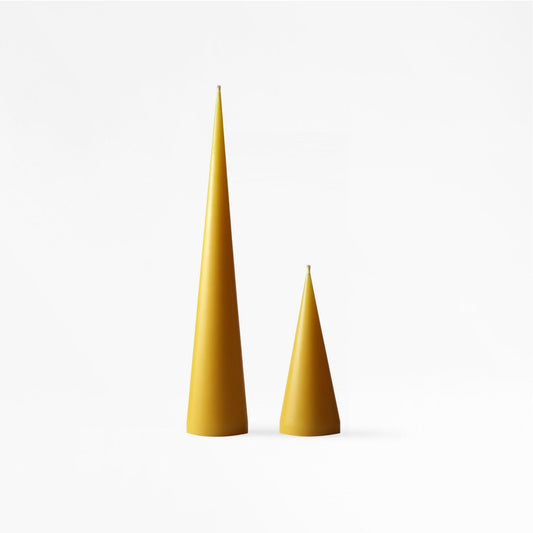
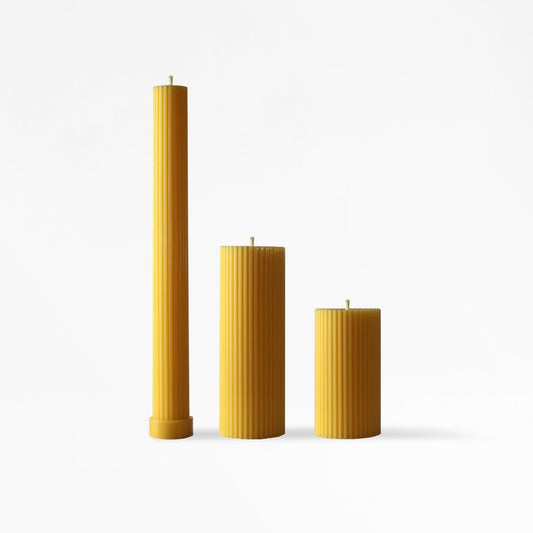
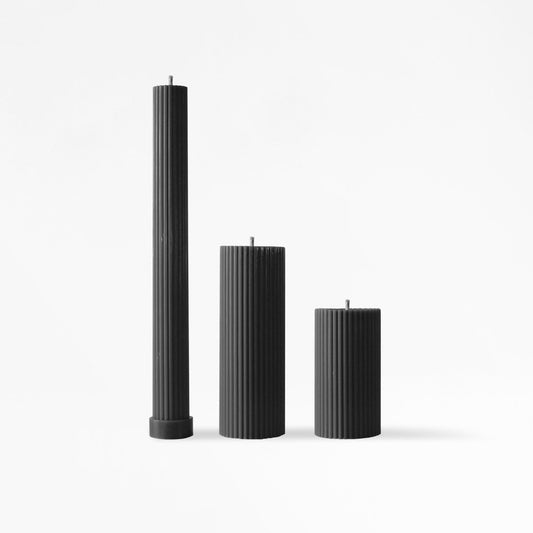
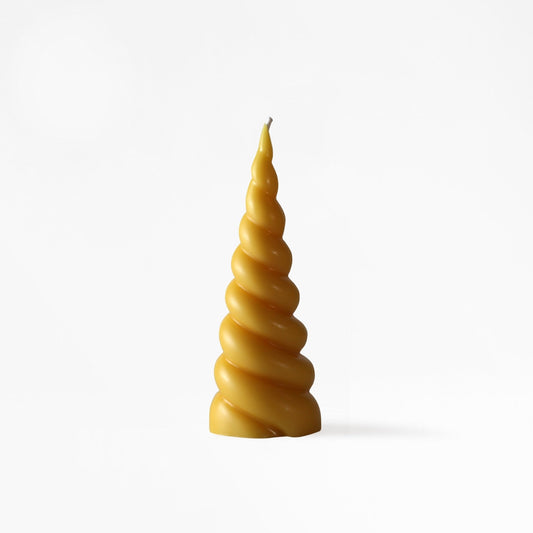
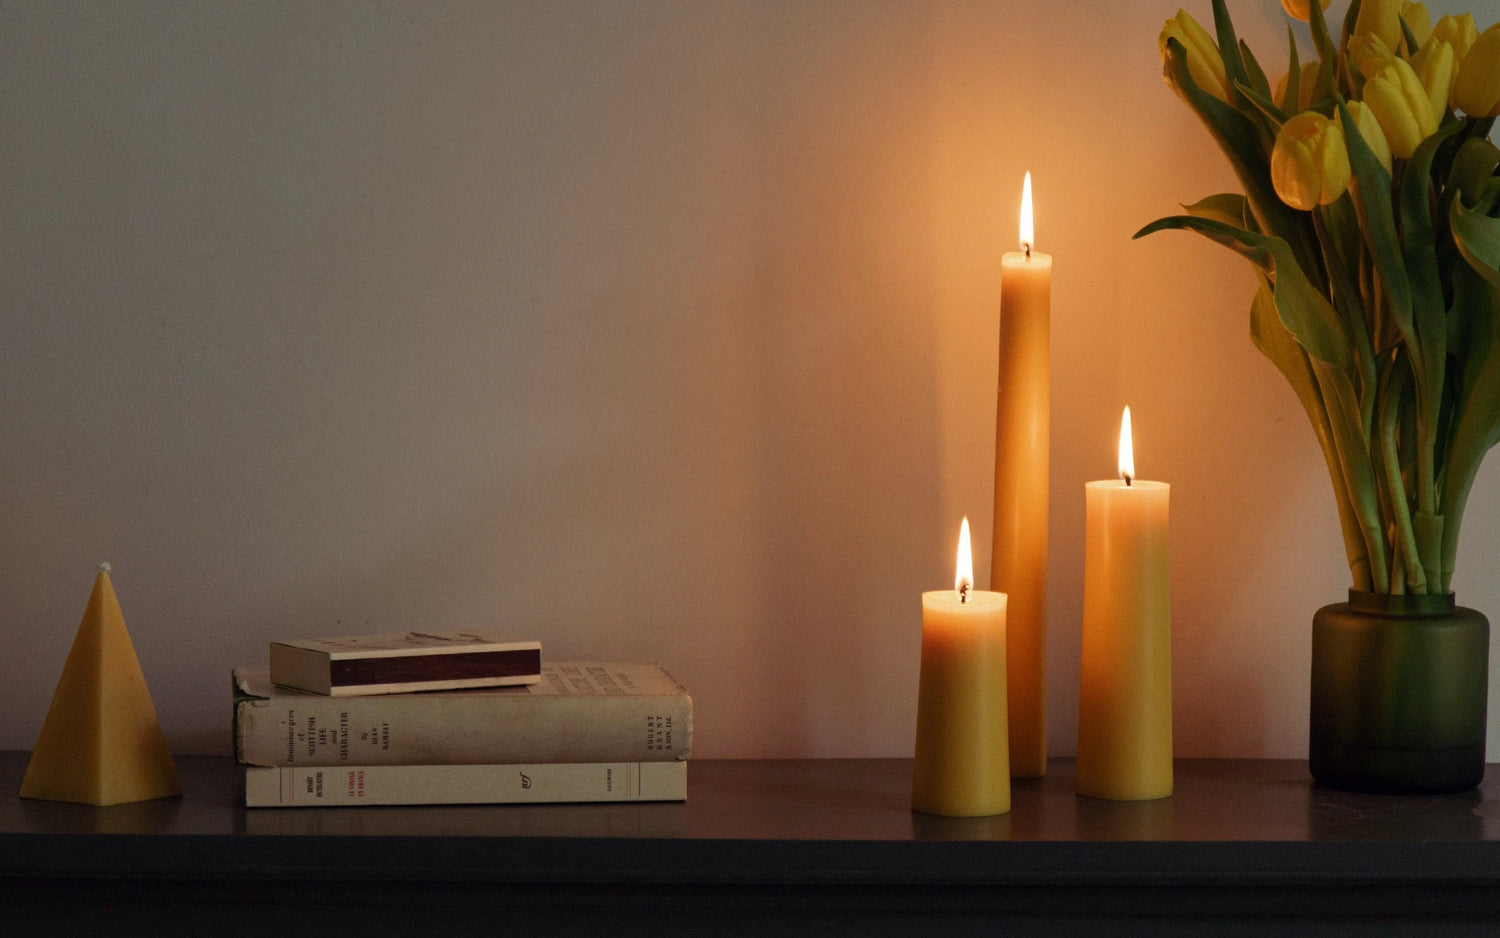
Hand dipped beeswax candles have several unique characteristics that make them stand out from other types of candles. They have a classic look and and feel, plus they can be made in different sizes and diameters without the need for using molds.
Step-by-Step Guide: How to Make Your Own Hand Dipped Beeswax Candles
Gather your supplies. You'll need beeswax, a wick, a double boiler or a pot and a metal can, a thermometer, and a dipping rig.
Melt the beeswax. Place the beeswax in a double boiler or a metal can set in a pot of water. Heat the wax over low to medium heat, stirring occasionally, until it reaches a temperature of about 70 to 75C.

Prepare the dipping rig. Run the wick over the hooks and make sure they are tight and straight. The wick size will change according to your candle diameter.

Start dipping. Dip the wick into the melted wax, making sure to completely coat it. Lift the wick out of the wax and let it cool for a few seconds before dipping it again. Repeat this process until the candle has reached the desired thickness.

Hang the candles. Hang the candles up to dry between dips. You can use a clothesline or a similar setup. Be sure to place a piece of wax paper underneath to catch any drips.
Finish the candle. Once the candle has reached the desired thickness, trim the wick to the desired length and smooth out any rough spots on the candle.
Tips and Tricks for Perfecting Your Hand Dipping Technique
- Use a thermometer to monitor the temperature of the wax. If the wax gets too hot, the layers wont build up on the candle. If the was is too cold it will create a lumpy and rippled candle, the ideal temperature is between 70C and 75C.
- From time to time, stir the wax so the hot wax from the bottom of the pan mix with the colder wax on the top and you achieve the same temperature depth-wise.
- To achieve a better look of your candles lower the dipping rig slow and lift it fast. If you lower it fast the candle surface wont heat enough and cause bubbles between the layers, if you lift it too slow you can cause ripples in the candle surface.
- Be patient and take your time. Hand-dipping candles is a time-consuming process, but the end result is well worth it.

Now that you know how to make your own hand dipped beeswax candles, you can enjoy the warmth and beauty they bring to any room in your home. Remember, the process of hand dipping candles is a traditional craft that takes time and patience to perfect. Don't be discouraged if your first candles don't turn out perfectly. Keep practicing, and soon you'll be creating your own beautiful and unique hand-dipped beeswax candles.